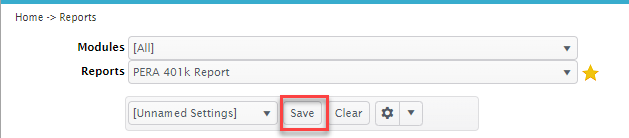
Select PERA 401k Report from My AptaFund > Reports > Payroll - Colorado Reports, and the report setup window opens. Note: You may want to click the star icon to favorite this report.
Complete the header parameters as described below. Example
Reporting year: Select the calendar year this report will cover.
Reporting month: Select the month this report will cover.
401K deduction: Select one or more as applicable.
Section 125 deduction: Select none, one, or more as applicable.
Employer match deduction: Select none, one, or more as applicable.
MatchMaker deduction: Select none, one, or more as applicable.
Employer discretionary deduction: Select none, one, or more as applicable.
Vendor: Select Other or Voya.
Employee identifier: Select Employee SSN or Employee Number.
Optional.
Save the parameters by clicking Save.
The Filter Save popup
opens.
Enter a Filter Name such as PERA 401k, and click OK. The next time you open the report setup window, you can select it from the [Unnamed Settings] list. Example
Click the Report to CSV button below the parameters. Save the file with a name following this format — AGnnnK.csv, where nnn is the PERA Employer Number. Note: This number is stored in Payroll > Payroll Configuration on the General tab.